In Overwatch, you can make a square reticle by going to the “Controls” tab in the options menu, and then selecting “Reticle Type” from the drop-down list. Then, simply select “Square” from the available options.
How to Make a SQUARE CROSSHAIR in Overwatch 2
- In the game options, select “Video” and then “Advanced”
- Scroll down to the “Display” section and check the “Reticle Type” box
- Select “Square” from the drop-down menu
- Exit out of the game options and enjoy your new reticle!
How to Make a Crosshair in Overwatch
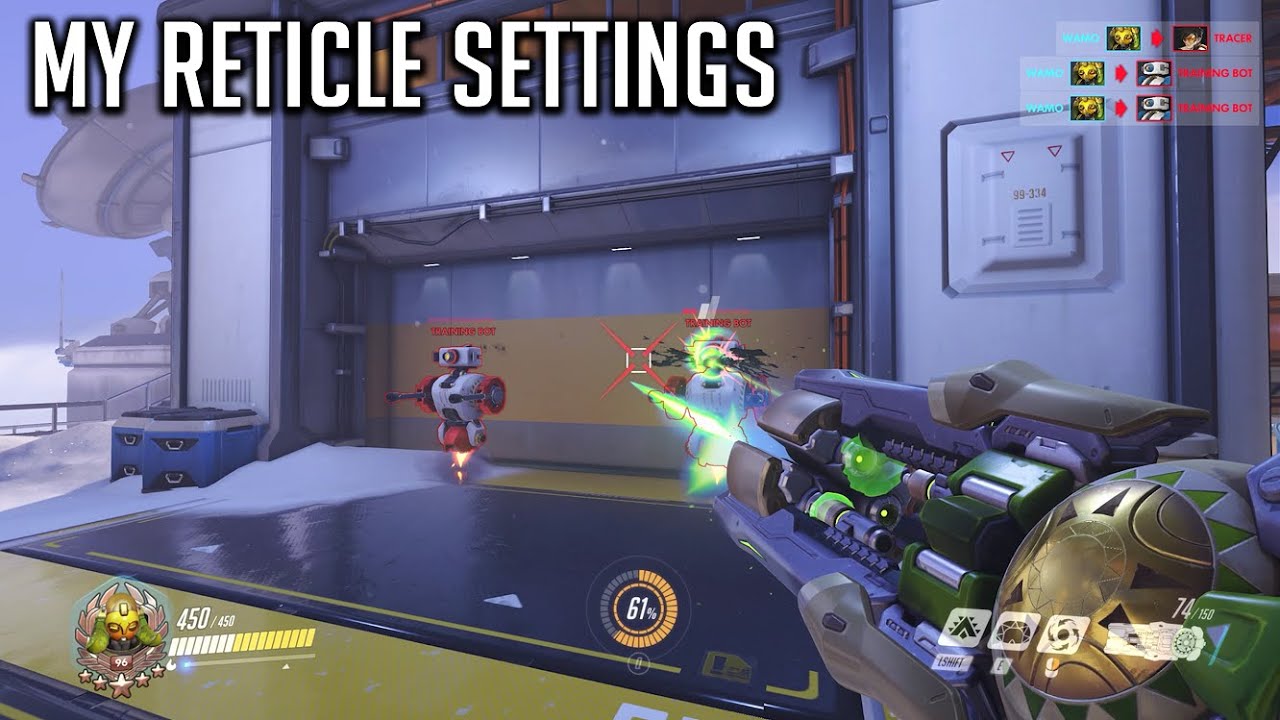
One of the most important aspects of playing a successful game of Overwatch is having a good crosshair. A crosshair is essentially your aiming reticle, and it needs to be placed in just the right spot on the screen in order to be effective. Luckily, there are a few different ways that you can go about making a custom crosshair in Overwatch.
In this article, we’ll show you how to make a crosshair in Overwatch using the game’s built-in options, as well as through some third-party programs.
When it comes to making a custom crosshair in Overwatch, there are two main methods that you can use: the game’s built-in Crosshair Options menu, or a third-party program like ElDewrito. We’ll start with the former option, as it’s by far the easiest way to go about creating a custom crosshair.
To access the Crosshair Options menu, simply head into the Game Settings tab from the main menu, and then scroll down until you see the Crosshairs section. From here, you’ll be able to adjust pretty much everything about your crosshair, including its size, shape, color, and more. Just experiment with different settings until you find something that works for you.
If you want even more control over your crosshair than what Blizzard’s options allow for, then using a program like ElDewrito is probably your best bet. This program allows you to completely customize your crosshair however you see fit, giving you complete freedom when it comes to designating its size and shape. It also lets you change things like its opacity and animation speed – which can be extremely helpful if you’re finding that your currentcross hair isn’t quite visible enough on all maps/situations.
Overall, ElDewrito provides an incredible amount of customization when compared to Blizzard’s own options – so if you’re serious about getting your perfectcross hair setup , then definitely give it a try!

Credit: www.reddit.com
How Do You Make a Square Crosshair?
When creating a square crosshair, there are a few things you need to take into account. The first is the size of your crosshair. You want to make sure that it is large enough to be visible, but not so large that it obscures your target.
The second is the color of your crosshair. Again, you want to make sure it is visible, but not so bright that it distracts you from your target. The third and final thing to consider is the thickness of your crosshair.
You want it to be thick enough to be visible, but not so thick that it blocks out your target.
Now that you know what to consider when making a square crosshair, let’s get into how to actually do it. First, open up your preferred image editor and create a new image.
The dimensions of this image will be the size of your crosshair in-game. For example, if you want a small crosshair, you would make an image 16×16 pixels. If you want a medium sized crossair, you would make an 32×32 pixel image.
And finally, if you want a largecrosshair,you would make am64x64pixelimage
Onceyou have createdyournewimage withthespecifieddimensions ,it’s time toturnyour blank canvasintoa beautifulsquarecrosshair! Start bydrawingtwo lines horizontallyandvertically throughthecenterofyour image usingany colorexceptwhite .
It doesn’tmatterwhat coloryou use for this stepaslong asit’snot white; we’llbe changingit later anyway . Onceyou have drawnthese lines , fill ineverythingbetweenthemwith black . This will becomethebodyofyourcrosshair .
Now go backto whereyou drewthe originalhorizontaland vertical lines and give thema 3px stroke (or whatever widthlooks goodto you) using white . Thiswillgive yo uryour finished product : asquarecross hair !
How Do You Make a Custom Crosshair in Overwatch?
In Overwatch, you can make a custom crosshair for each individual hero. To do so, go into the “Options” menu, select the “Controls” tab, and then click on the “Crosshair” button. From there, you can customize the size, color, and opacity of your crosshair.
You can also change its shape from a dot to a circle or an X.
How Do I Change My Reticle Size in Overwatch?
There are a few different ways that you can change the size of your reticle in Overwatch. The first way is to go into the Settings menu and select the “Video” tab. From there, you will see an option for “Reticle Size.”
You can use the slider to adjust the size of your reticle.
Another way to change the size of your reticle is to bind a key to the “Cycle Reticle Size” command. To do this, go into the Settings menu and select the “Controls” tab.
Then, scroll down to the “Reticle” section and click on the drop-down menu next to “Cycle Reticle Size.” Choose which key you want to bind it to, and then you can cycle through different reticle sizes by pressing that key.
The final way to change your reticle size is through custom game settings.
To do this, create a custom game or join one that already has custom settings enabled. Once in a custom game, press ESC and select Game Settings. From there, scroll down until you see an option for Reticle Size.
Use the slider here to adjust your reticle size just like in the Video settings tab described above.
How Do I Make My Circle Crosshair Smaller in Overwatch?
There are a few ways to make your circle crosshair smaller in Overwatch. You can use the Crosshair Scale setting in the Gameplay tab of the Options menu, or you can bind a key to the “Decrease Crosshair Size” command in the Keyboard/Mouse tab of the Options menu.
Crosshair Scale will adjust the size of your crosshair globally, across all heroes.
The default value is 50, and lower values will make your crosshair smaller. You can experiment with different values to find what works best for you.
The Decrease Crosshair Size command will decrease the size of your crosshair by one step each time it’s used.
The default bindings are Shift+F1 for PC and L3+R3 for consoles. This is a quick way to adjust your crosshair size on the fly without having to open up the menus.
Conclusion

Overwatch is a game that requires a lot of coordination and communication in order to be successful. One important aspect of the game is having a clear line of sight on the enemy, which is why many players use square reticles.
There are two methods that players can use to create a square reticle in Overwatch.
The first method is by using the “Console” command, which can be found under “Settings.”
- Test Post 2022-12-09 - February 14, 2024
- How to Run in Pokemmo - February 13, 2024
- How Much is My Lol Account - February 13, 2024